First here are the supplies you need.
1. Freezer paper
2. Scissors
3. Protractor
4. Pencil
5. Long ruler

Pull off a long sheet of freezer paper about 20". I have marked the edge of the paper with a pink marker to make it easier for you to see what I am doing. This is the long edge of the paper that is cut by the manufacturer. When you rip the paper across the width or cut it with scissors it is never straight.

Line up the narrow edge of your ruler with the straight (pink) edge of the paper to the left of center.

Put a pencil mark at 14" on both sides of the ruler.

Put a pencil mark at 14" on both sides of the ruler.
Now draw a line using your ruler that connects all 4 dots you just made. You should now have a line running the length of your paper that is 14" away from the pink edge.

I have colored it green to make it easier to see.


Open it up so you can see the fold.


Keeping the pink edge closest to you, lay your protractor on the center point. The hole or bubble in the center bottom of the protractor is on the center mark.

The black line on the protractor (under the words "MADE IN CHINA") lines up with the crease going left to right.


Take the long ruler and line up the 3 dots going in a diagonal -- 60 degree mark, centerpoint, 60 degree mark.

Now make another pencil mark where the ruler crosses the green line and one where it crosses the
pink edge.


Make a pencil mark where the ruler crosses the green line and where it crosses the pink edge.


Here's a little math magic. The distance between those two points on the center crease is 2 times the length of one side of the hexagon. So lay your ruler on the green line placing the zero point at the left corner mark.


Move the ruler to line up with the center crease placing the 8 - 1/8" mark on the center point.
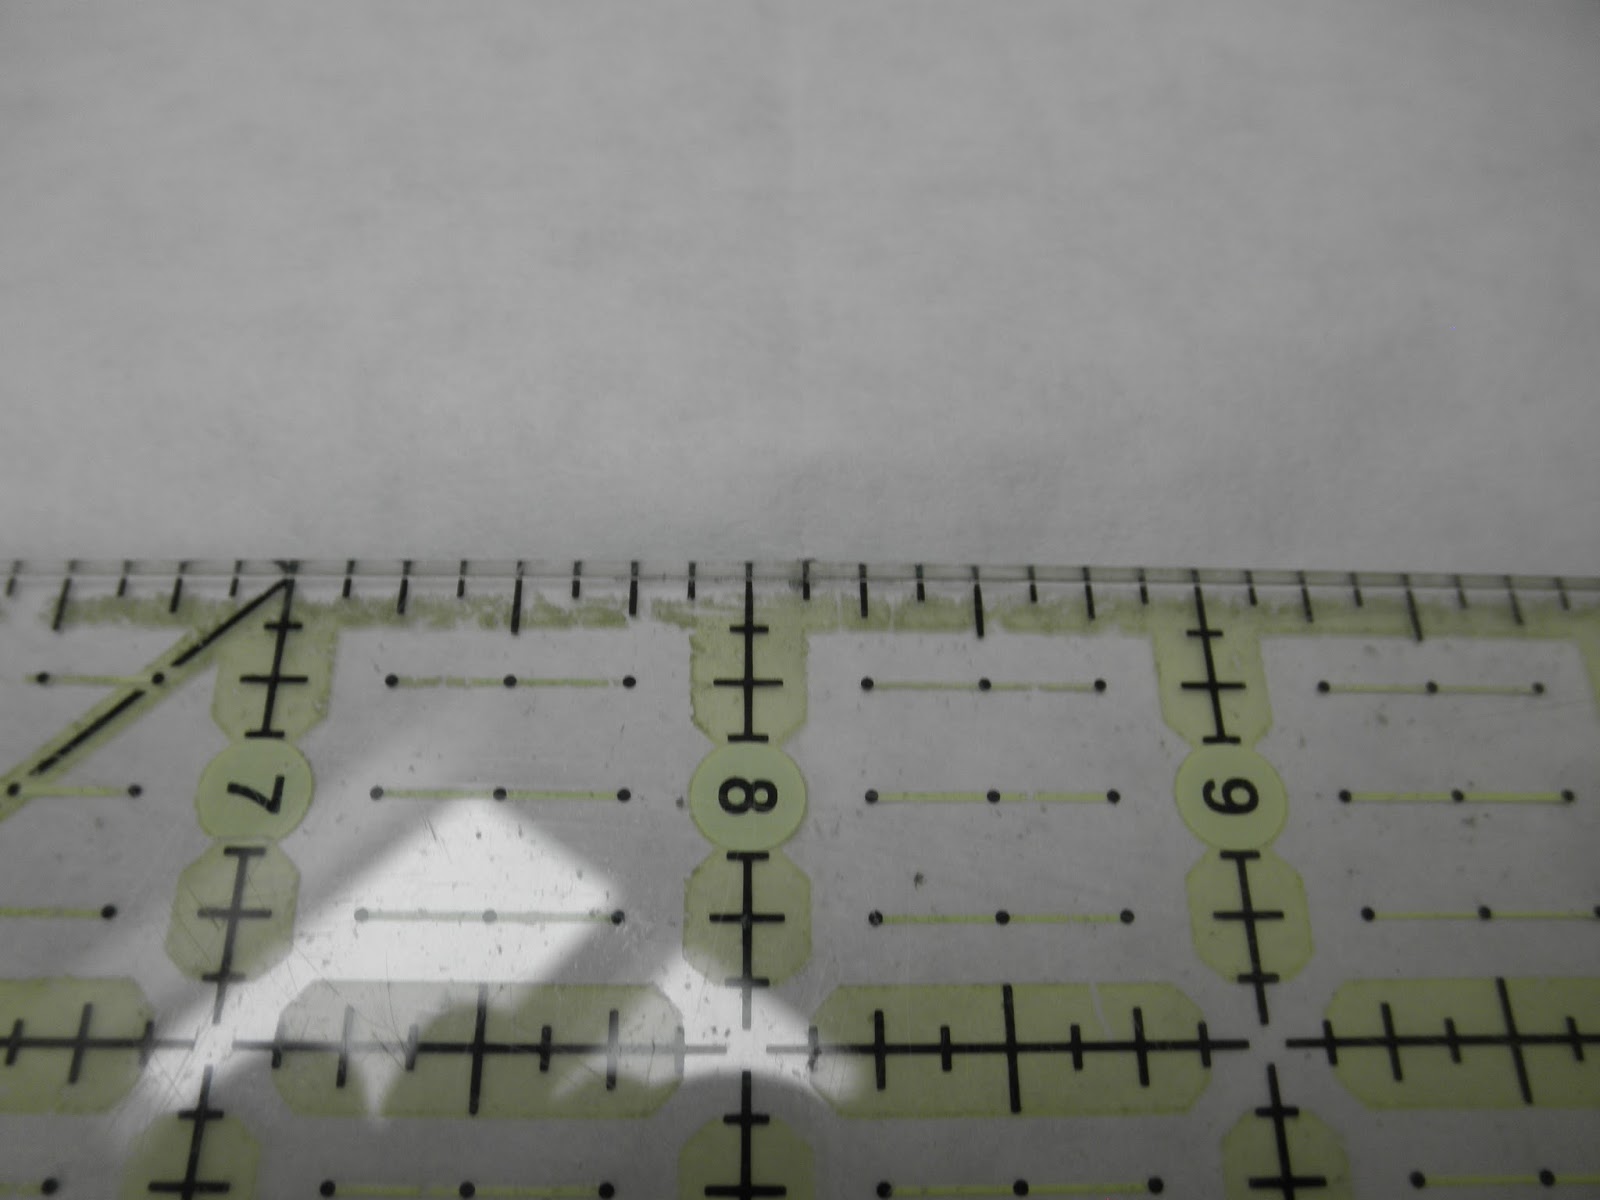
Now make a mark at the left end of the ruler on the center crease. (Ooh, my fingernails look pretty good in this photo!)

Slide the ruler along the center crease until the zero edge is at the center point of the hexagon.

Now make a pencil mark at 8- 1/8" on the center crease. This is your right edge of the hexagon.


PLEASE NOTE: I have not included the seam allowance in this pattern. You will need to add 1/4" all the way around when cutting with this pattern. I usually write the size of the hexagon on the paper and a note to add the seam allowance as I usually use them more than once ( and I'll probably forget before I get around to using it again.

Hopefully this will help someone in the future.
I am linking this to LeeAnne's Podunk Pickins'.
This may be more than I can wrap my brain around, but I am glad it is here in case I need it. : )
ReplyDeleteThis could have saved me so much money buying templates...just my luck! Great tute!
ReplyDelete